How to make a wreath: Step by step with pictures

In previous years we’ve loved getting together with lots of friends and family to make wreaths together at Christmastime, but this year is looking a little different. With so many of us having to spend more time at home indoors, we thought we’d share our step by step instructions for how to make yourself a wreath this year.
There are lots of theories about where these lovely little festive decorations came from, with some believing they have their roots in ancient Egypt and Greece and used to display power and wealth. Now it is thought that way back when people used wreaths and the hardy foliage that they’re typically made from to represent everlasting life brought through Jesus. Whatever the reason, we’re glad they’ve stuck around and are now a part of preparing for Christmas that we couldn’t live without.
The joy of learning to make your own wreath from scratch is that once you’ve mastered the simple technique you’ll be able to put your knowledge into practice year after year. We love that no two wreaths can ever be the same and that they can be adapted for each season. Fancy brightening up your door in the spring? Why not redo your wreath for an easter theme with blossom branches and pastel flowers. Or, you could make one of our dried DIY wreaths which last for years if cared for properly, so that after Christmas you can still enjoy your creation for months to come.
In our wreath kits you’ll find everything you need to make a beautiful focal point for your front door, or even over your bed or a fireplace. However, if you’d like to get creative you can also add to your bundle by snipping foliage from your garden if you have one or adding in decorations you already have. For instance, some holly would look great in the classic ensemble, or you could wire in some dried orange slices and cinnamon sticks. There’s definitely no right or wrong way to make your wreath, so just go with whatever you love the look of.
How to make a wreath from scratch: Step by step picture guide
What you’ll need to make a wreath from scratch
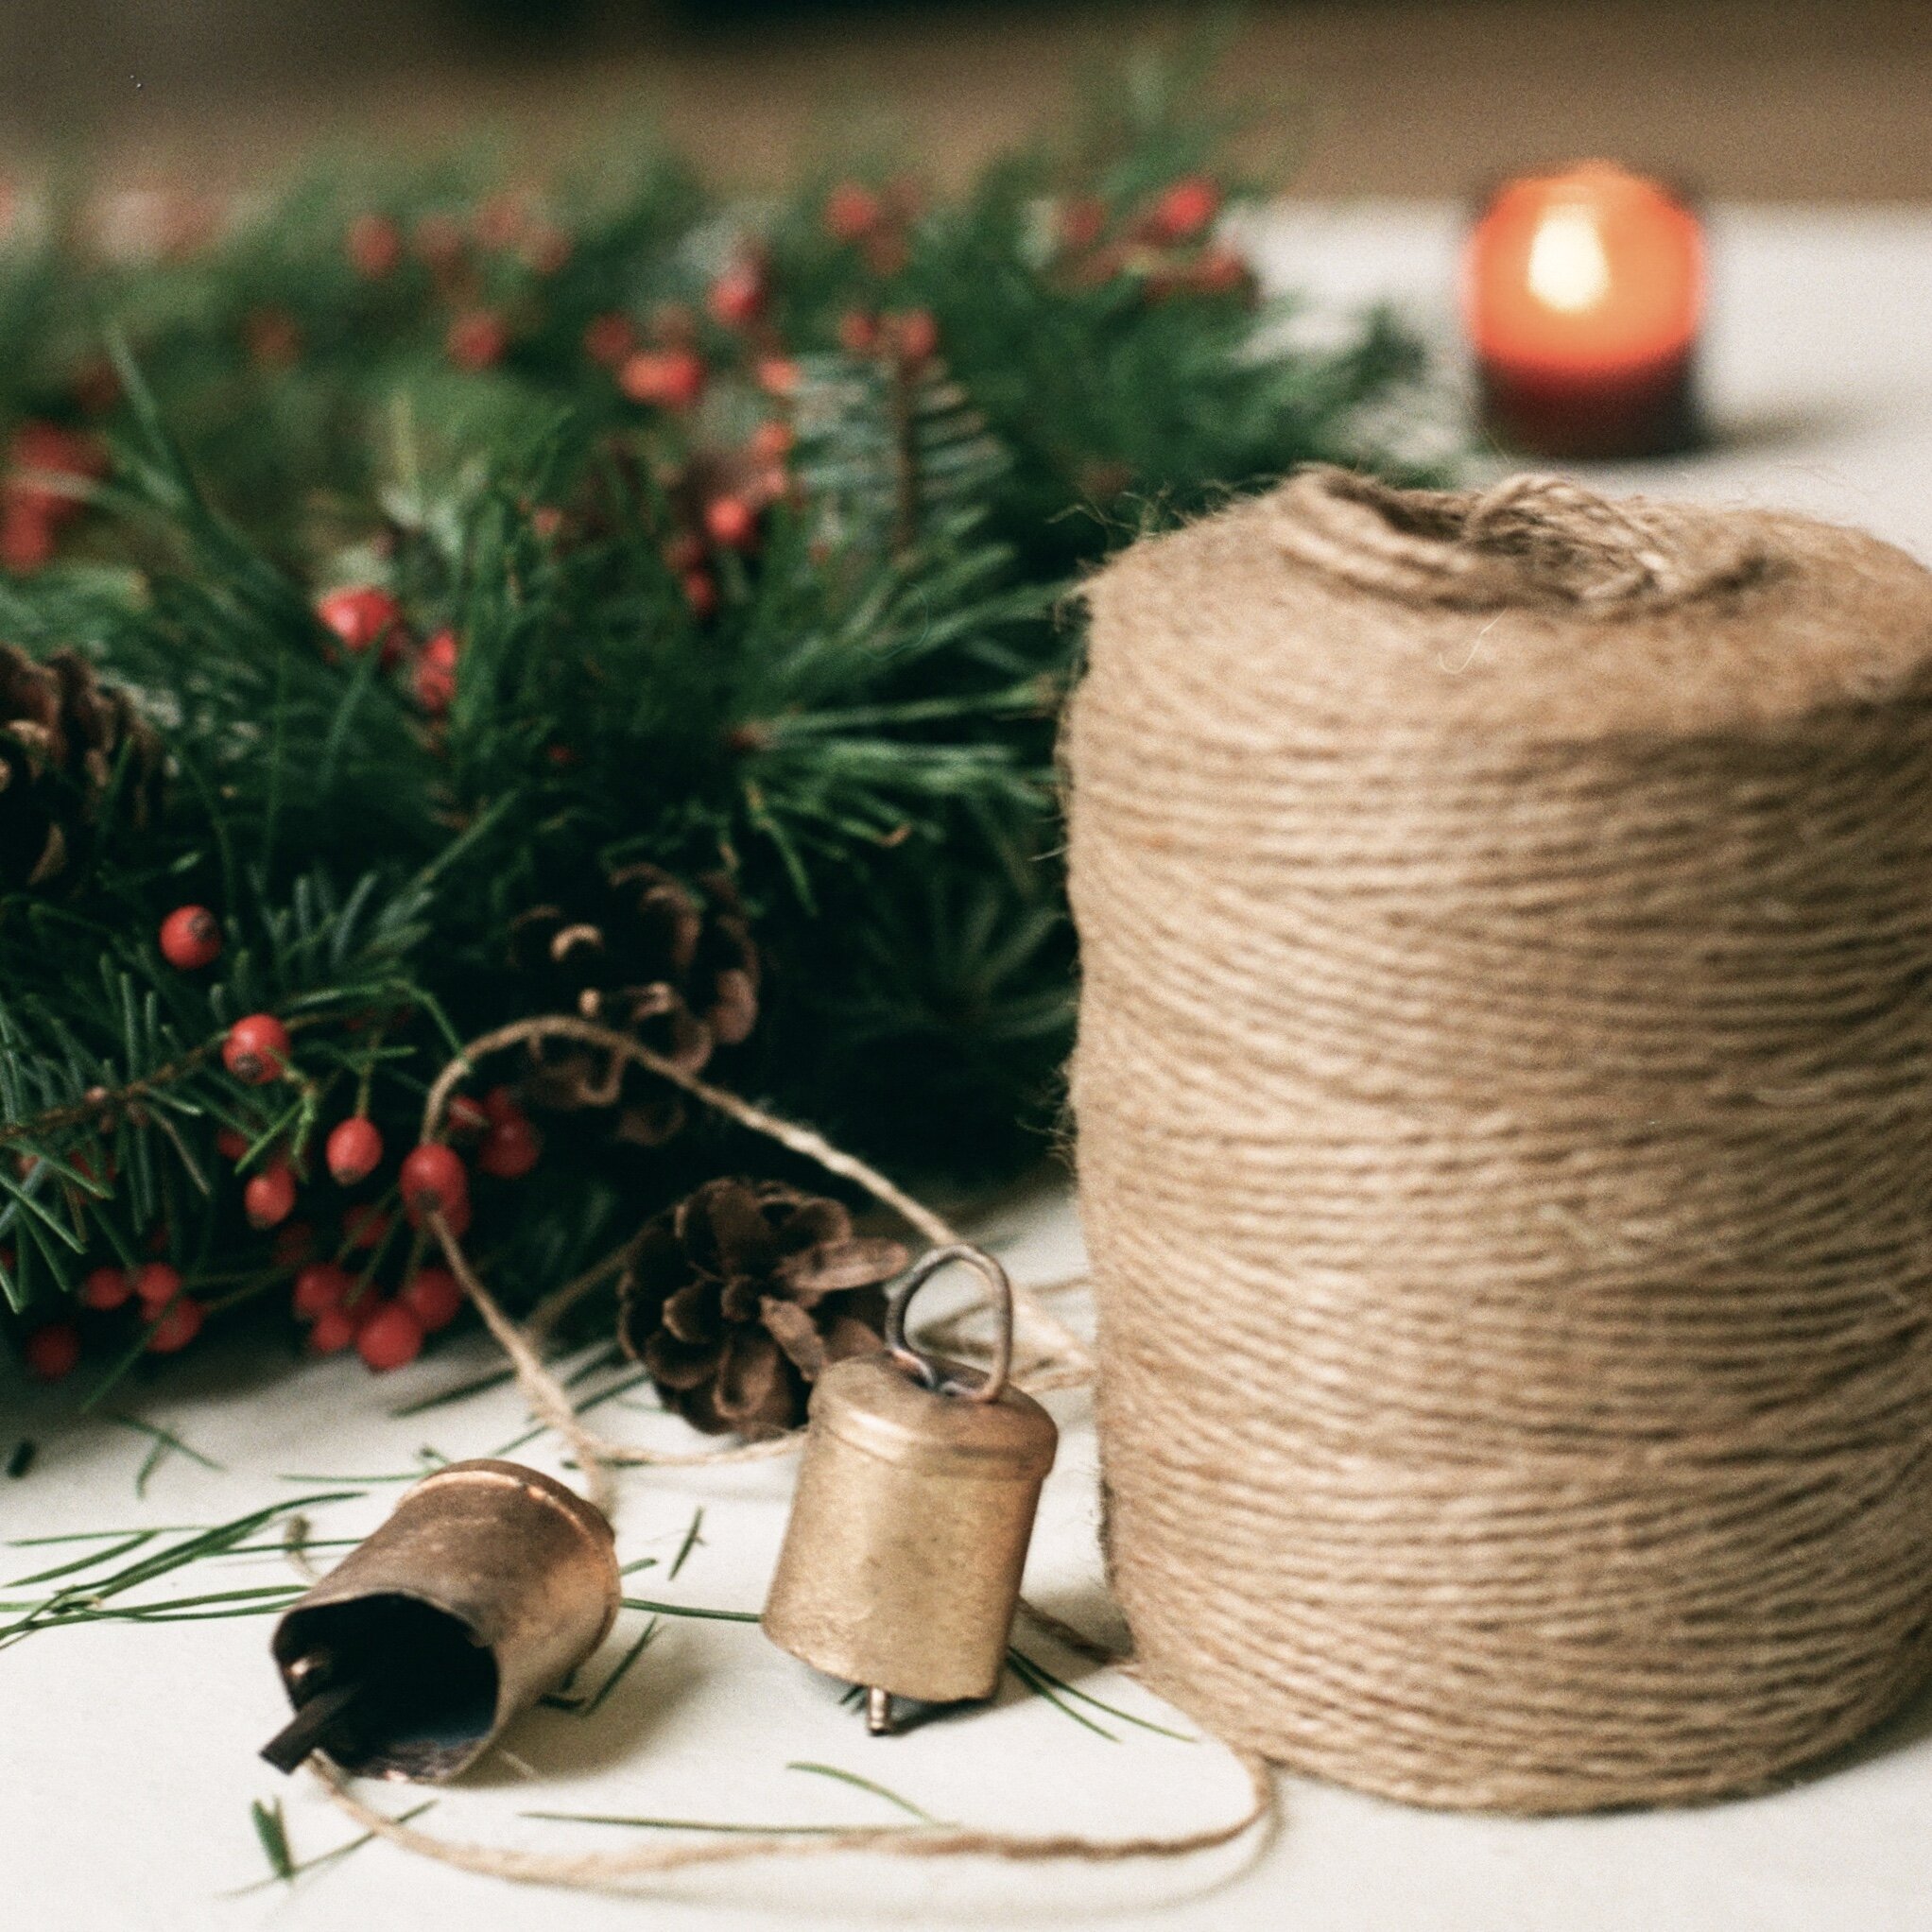
1 x wreath base, ours are willow but you could use wire1 x spool of twine
1 x large handful of moss (not needed for dried wreaths)
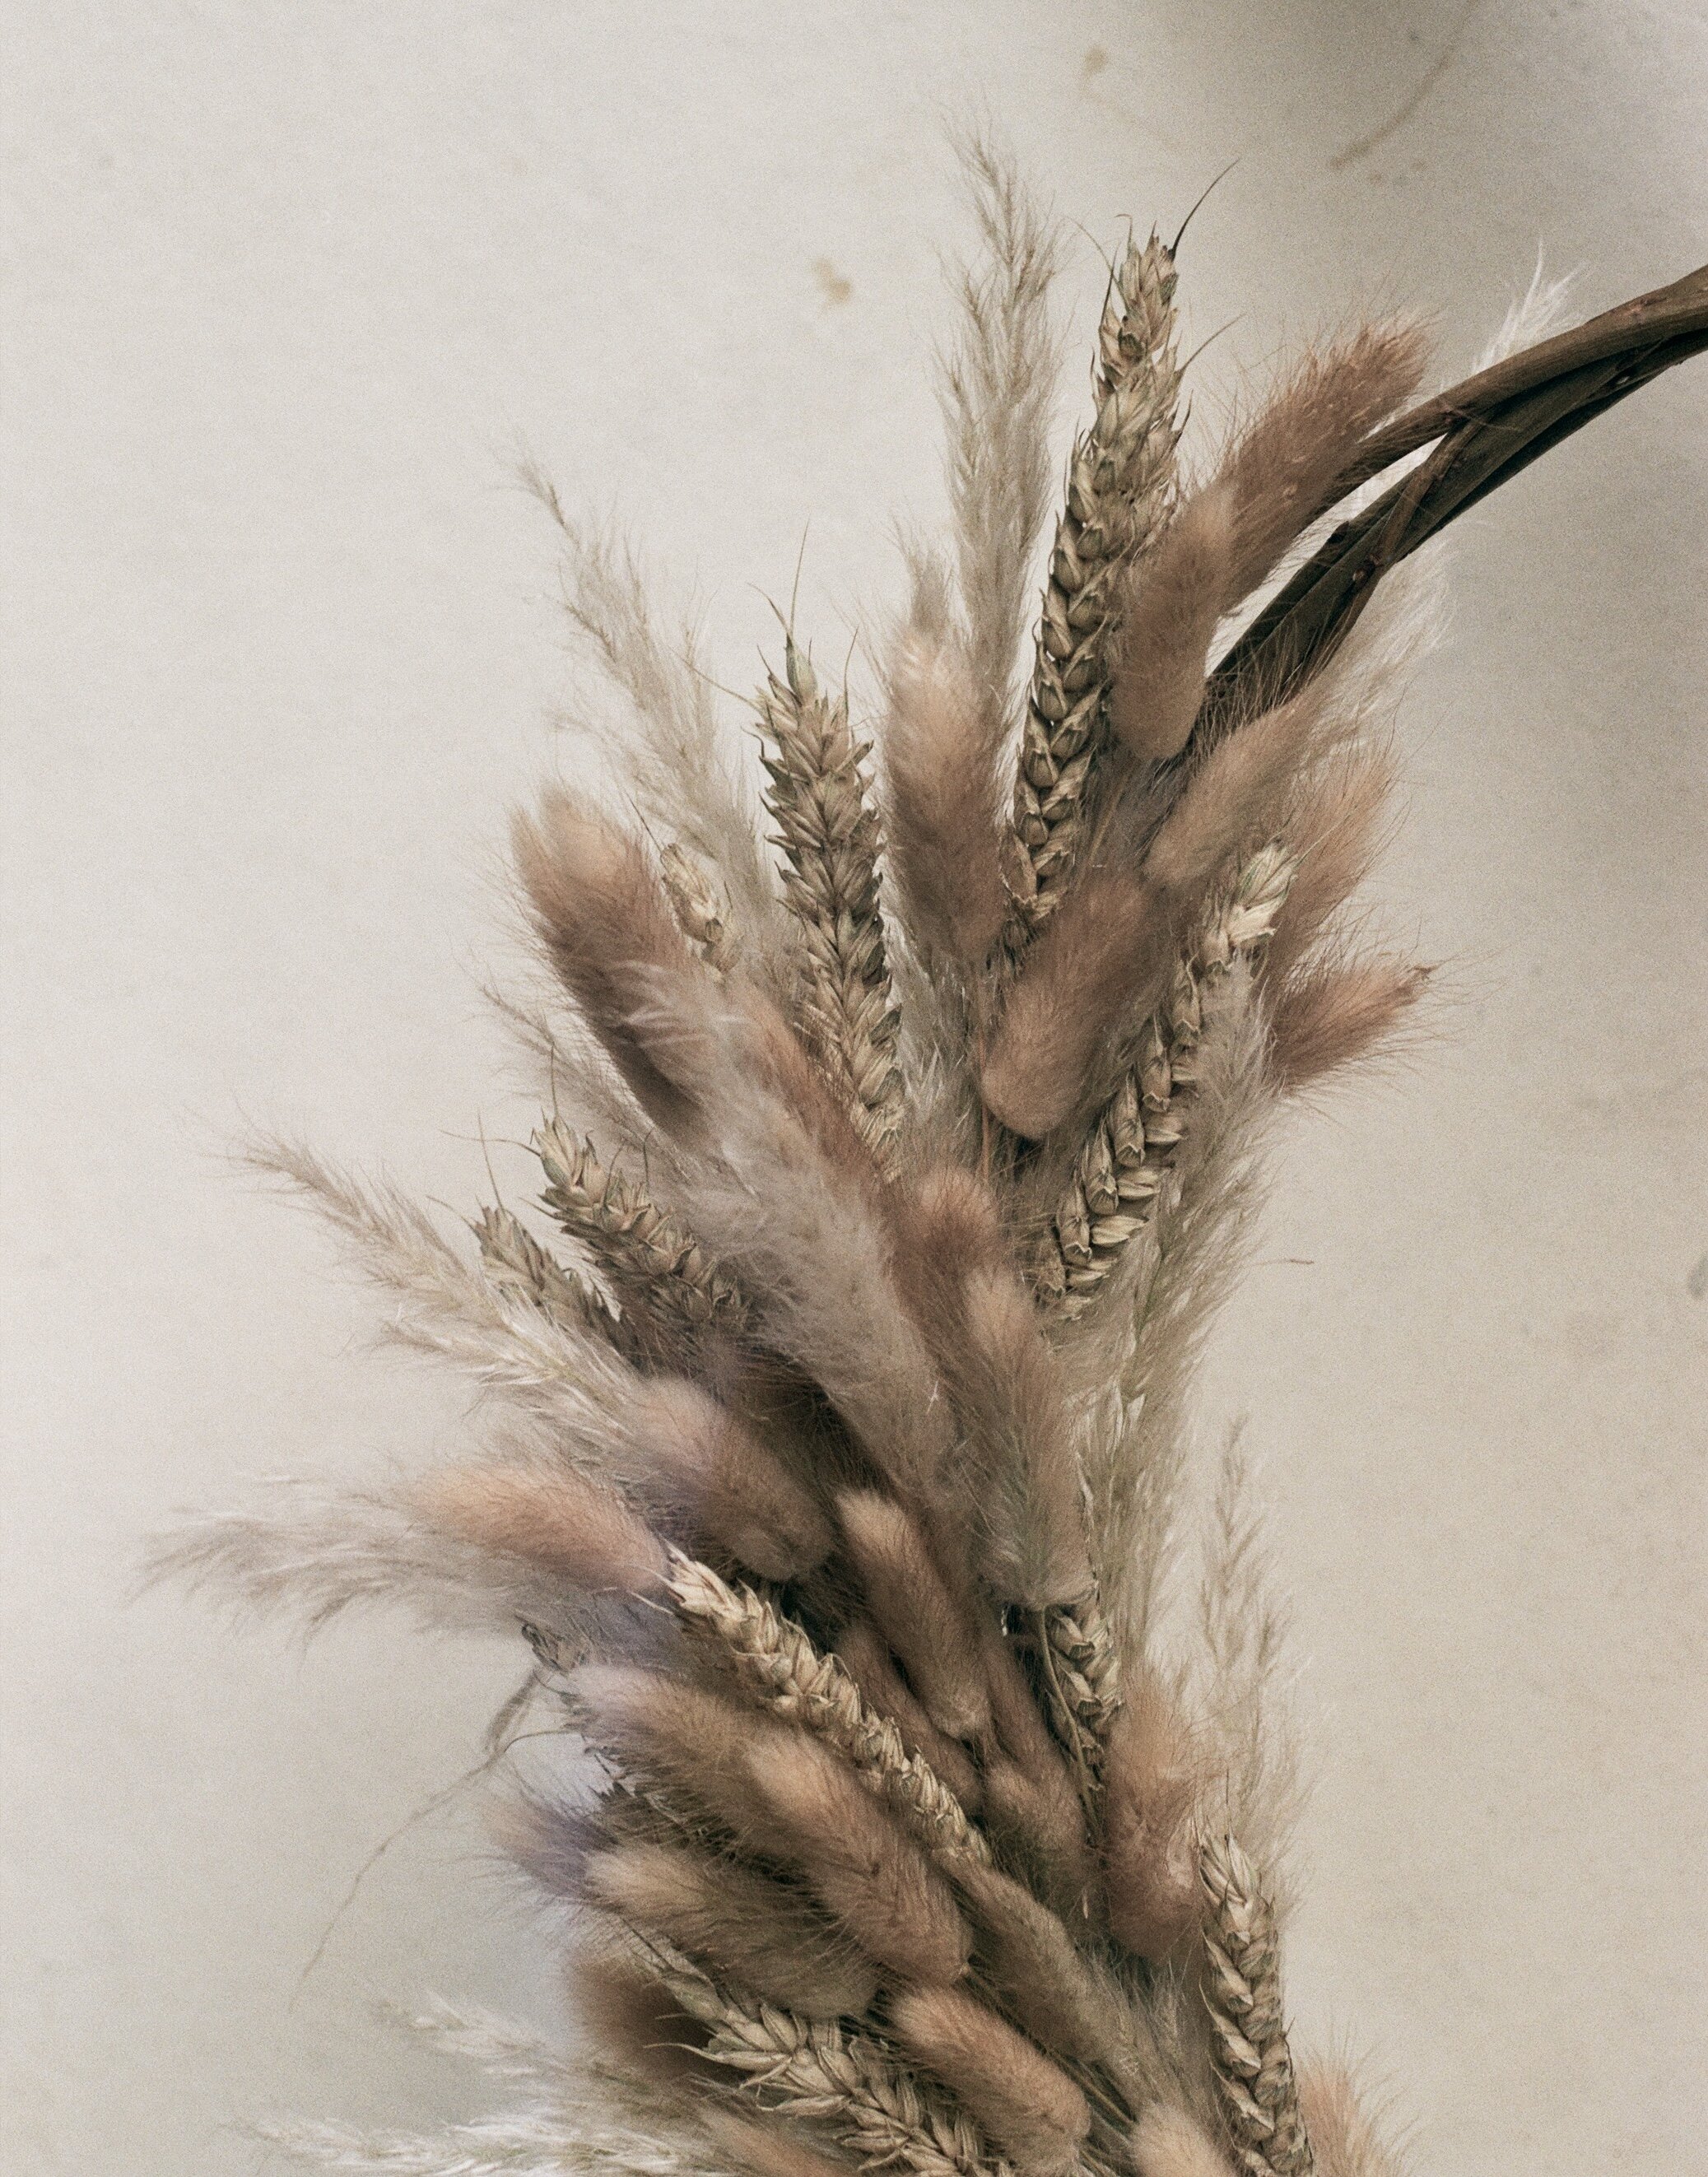
1 x bundle of foliage, berries or dried flowers
1 x length of ribbon
1 x handful of decorations
1 x reel wire, if using addition décor items
Wreath making step one: Attaching your hanging loop
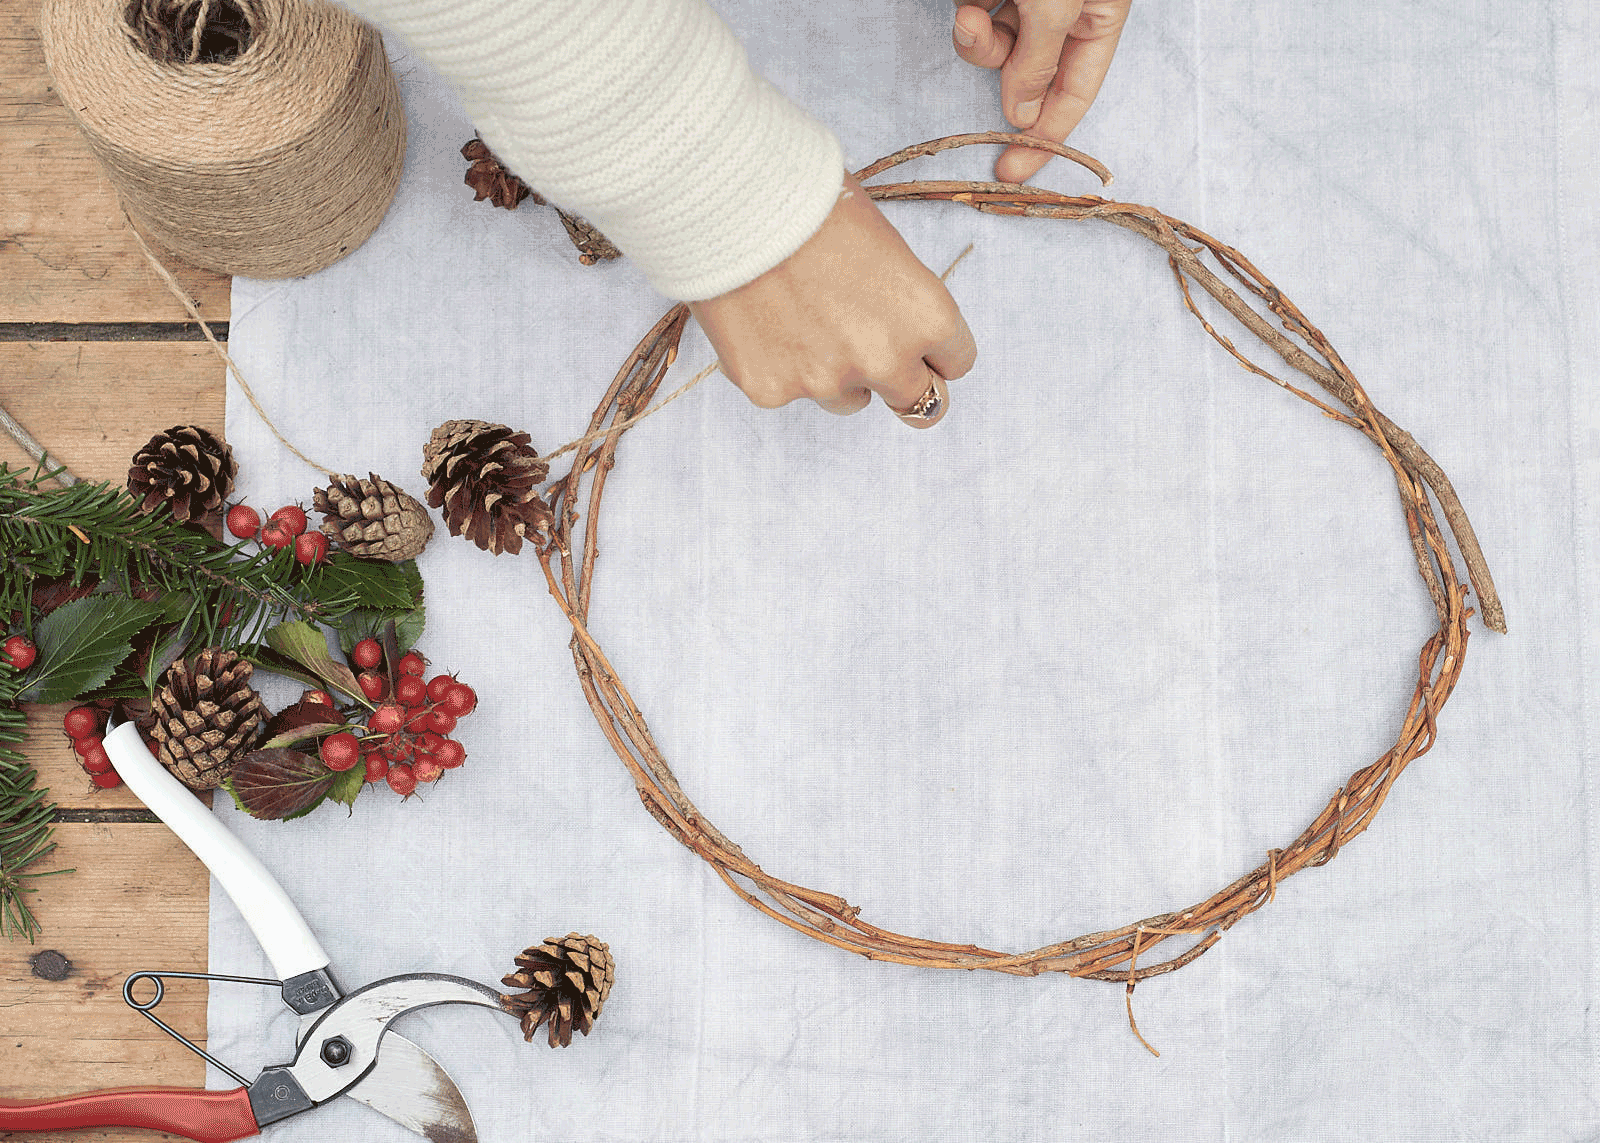
The first step is making sure you attach a hanging loop to your wreath base, because once all your foliage and decorations are on it can be hard to get anything back under the base again. Simply make a loop of twine and tie it at the top of your wreath base.
Wreath making step two: Mossing your base

To moss your wreath base simply tie on a long length of twine at one point on your wreath base and gather up a handful of moss. Push the moss onto and along the base, following this action by wrapping your twine up and over to encase the moss against the base. Cover the whole base and tie off your string at the end to secure in place. The moss will help keep fresh foliage nice and damp throughout the Christmas period to help it last longer, and also gives a lovely fuller shape to your finished creation.
Please note: Skip this step for dried wreaths, you will work directly onto the willow base without moss.
Wreath making step three: Preparing your foliage or flowers

To make your wreath even – if that’s the look you’re after – the next step is to prepare your foliage or dried flowers. You essentially want to make mini bunches, all the same size (or varying if you want a graded finish). Decide whether you want your bunches long or short to give you a wilder or neater finish and then cut all your foliage into the same height pieces. We go for roughly 4-5inches pieces typically, and bunch a little section of each type of foliage or flowers together so that you have multiple identical bunches. Do this until you’ve used up all your foliage.
Wreath making step four: Attach your foliage to the wreath

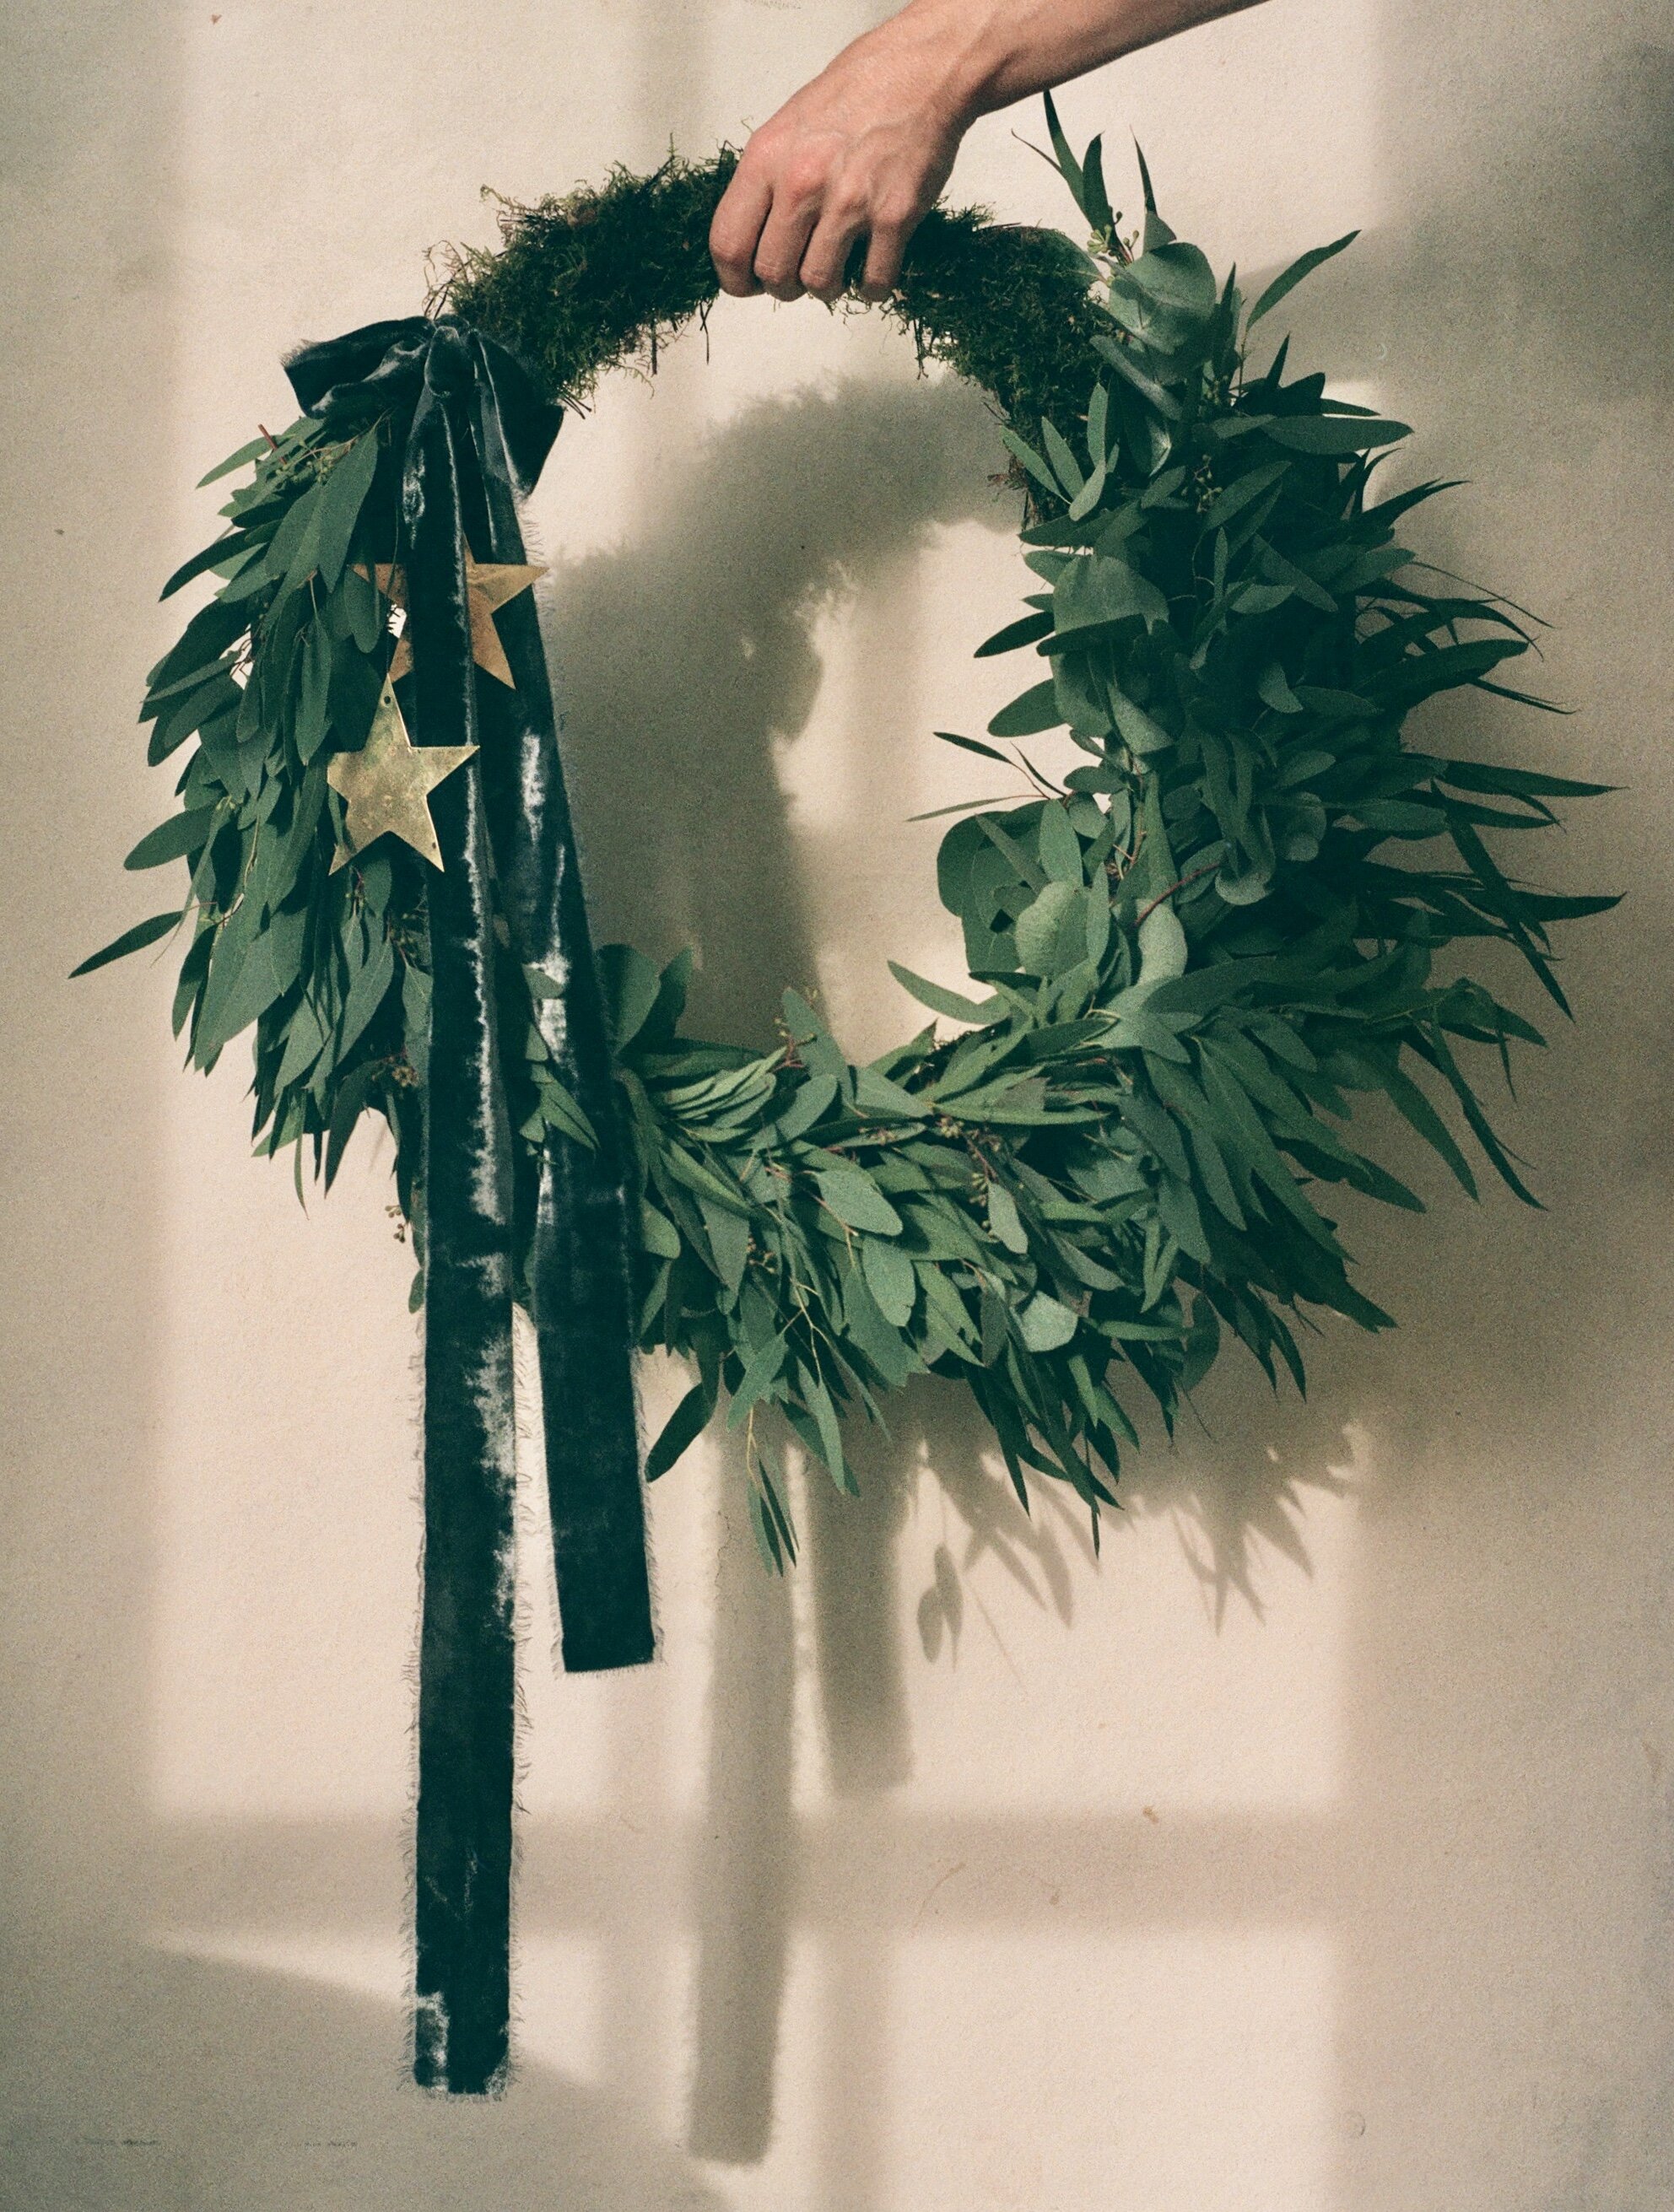
You can now begin adding your foliage. Tie a piece of twine round the section of your base that you want to start at. Next, lay a little bunch along the back edge of the base as it’s facing you, and wrap twine around the bottom of it to secure it. Continue to do this, all in one direction, overlapping the bunches slightly until you have a completed halo of foliage or flowers. You then want to repeat the process along the middle of the wreath, in the same direction, to cover the main body of the moss, and then again on the inside of the wreath to cover up any final bits of twine which might be showing. In total you should have covered your wreath in three loops of foliage. With each additional layer make sure to wiggle the twine around the existing foliage so that you’re not squashing what’s gone before. If you prefer you can make this process quicker and easier by doing just one layer of foliage using larger bunches.
Please note: You can do this in any design. If you’d like to copy our dried flower wreath then you would simply start from half way up one side and work back towards the bottom centre, tying it off in the middle and repeating on the other side so that you create a sort of winged look. Our eucalyptus example starts off short on one side and the bunches are gradually made longer to create an asymmetrical finish which exposes some of the lovely natural moss.
Wreath making step five: Adding the finishing touches
Now’s the fun bit, adding all the trimmings. In your kit you will either have pinecones and bells or silk ribbon (and some of our wreath kits have all three). If you’re attaching pine cones you can snuggle a wire around some of the bottom ‘leaves’ and then twist off where the two sides meet, creating a loop around the piece, then use the wire ends to thread through your wreath and secure at the back. To tie on the bells, you can use the string or any ribbon you prefer. For our ribbons we like tying them loosely round one point but you can secure them any way you fancy. Sometimes it’s easiest to tie your ribbon into a bow first and then use wire looped round the back of the knot to fix them in place on the wreath.
If you’ve purchased one of our wreath kits this year, please do keep the ribbon, base and bells, and next year we can send you a bundle of moss and foliage to cut down on waste and cost.